Your Cart is Empty
shop

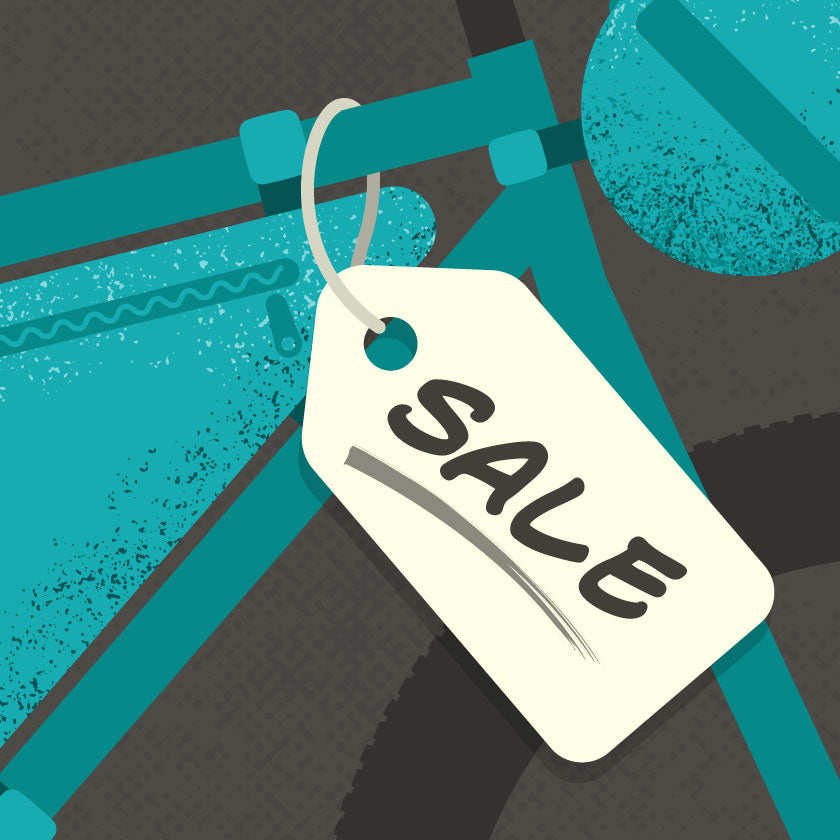


Gear on sale
Check out our latest sale discounts - save on bikepacking bikes and gear.
Stuck for a gift?
Delegate that tough decision with a Good Rotations gift card. Choose from several denominations, depending how much they deserve it :-)
collections

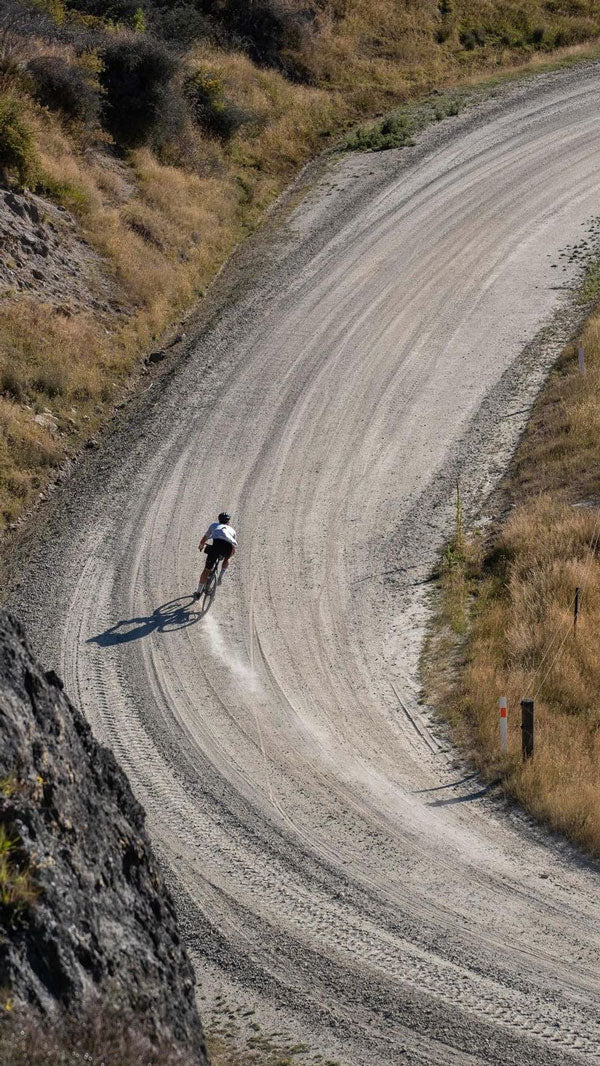


Gravel Riding
Escape the tar seal - gear & bikes for riding light and fast
Day Missions
The essentials for long and short forays tackled in a single day
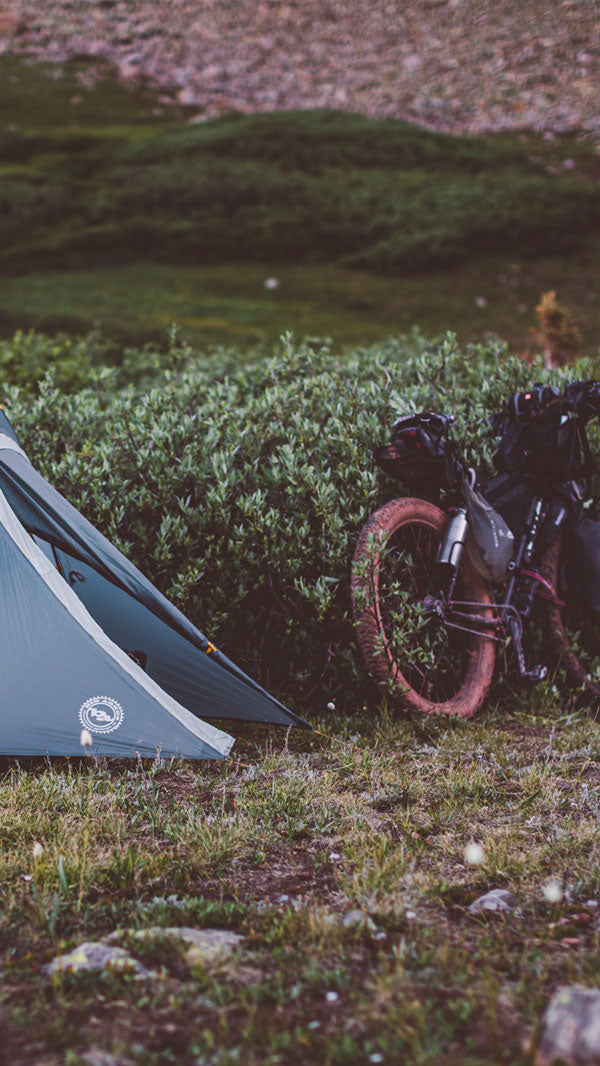
Brevet & Ultra
Gear for riding and racing brevets and ultras – fast, far and light

Beginners Guide to Bikepacking Bags
You've got the bike, rounded up your overnight gear, and perused a whole heap of tasty bikepacking bags. But what next?
What bags do you need for a bikepacking trip? The choice can seem daunting at the outset, but once you understand the basics, you can build a system of bags that works for you. If you're struggling with choosing your bikepacking bag setup or just looking for some tips, read on - this guide is for you.
In this post
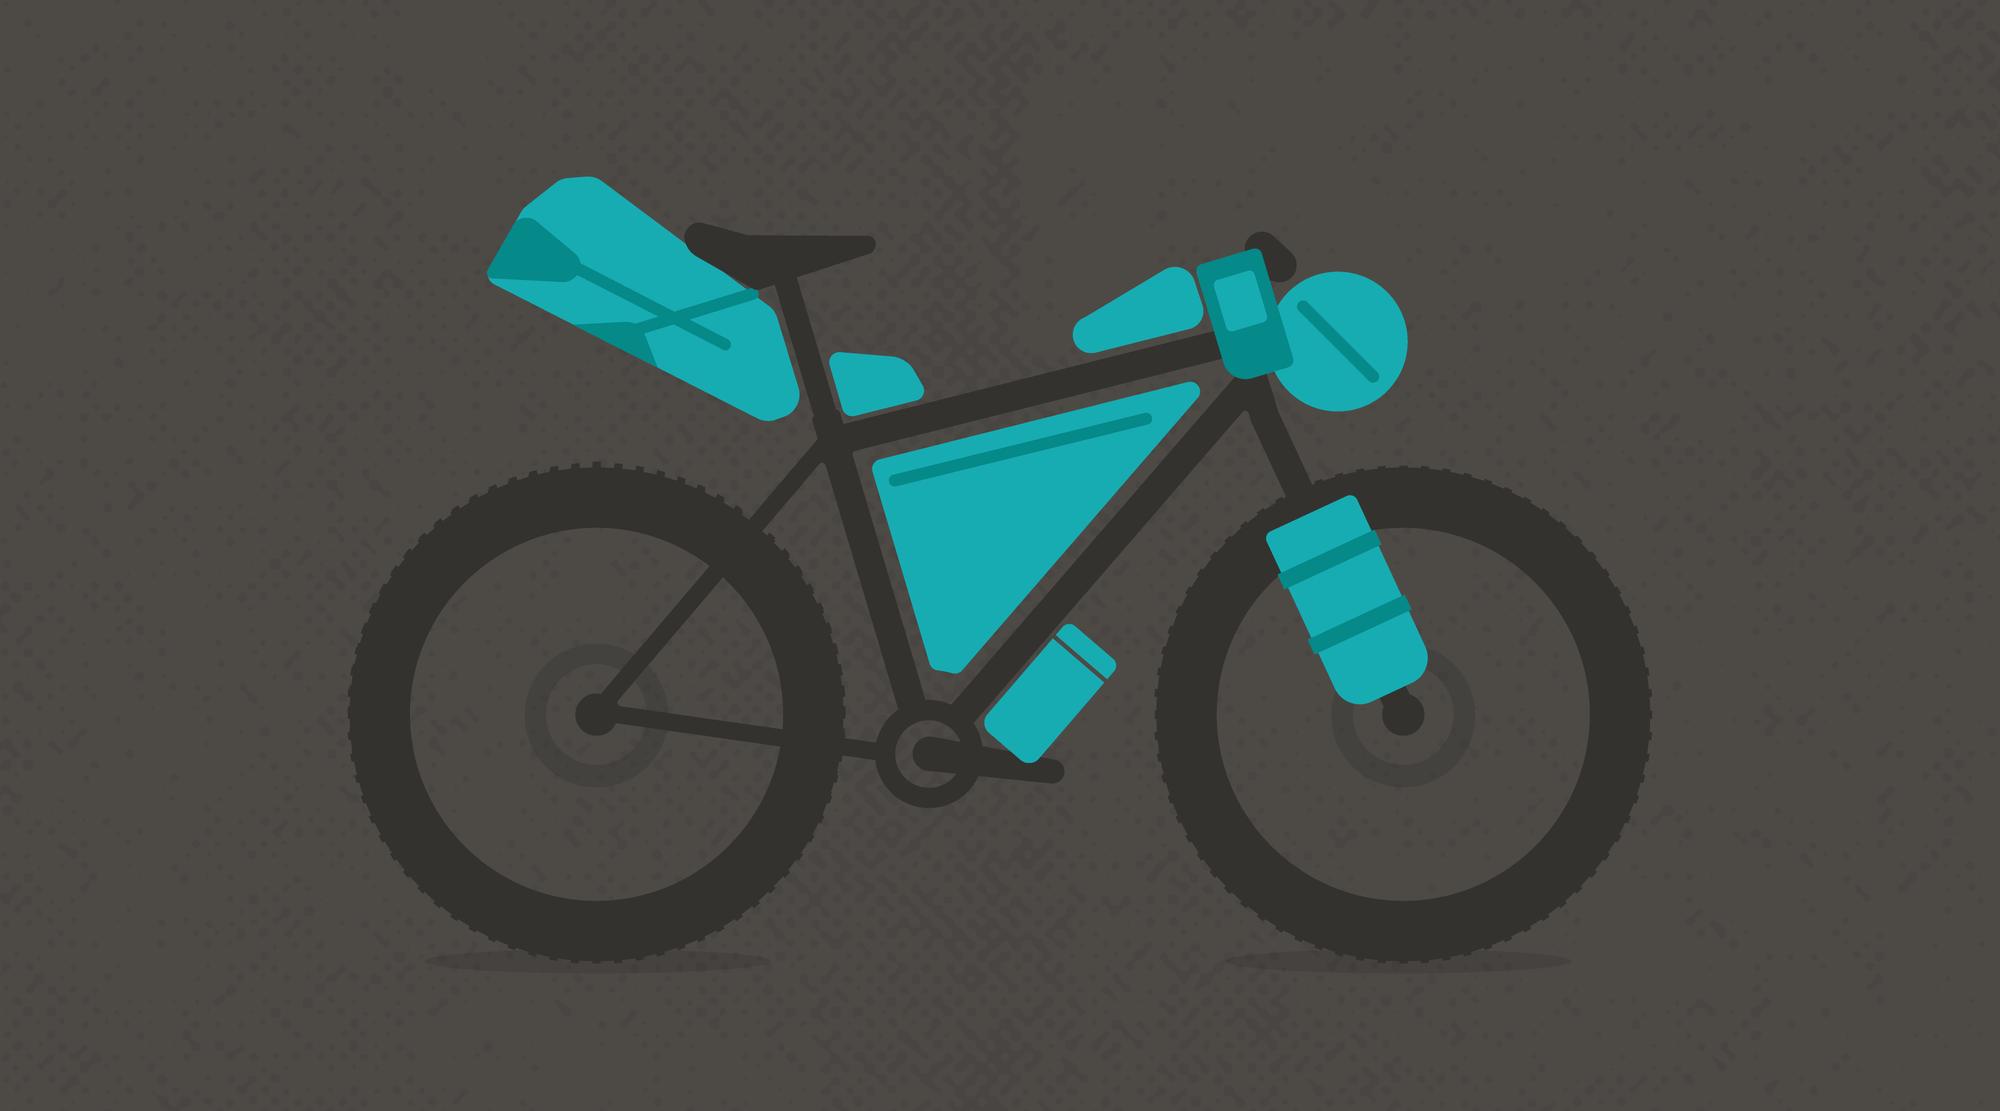
The Bikepacking Bag System
Seat Packs
Handlebar Packs
Frame Packs
Accessory Packs and Extra Storage
The lowdown
People have been travelling on bikes since bikes were invented. In fact, some of the earliest bicycle-mounted adventurers used leather frame packs and handlebar packs similar to what we think of now as the main components of bikepacking. So, not a new thing!

Proto-bikepacker, Francis Birtles. Photo: Wikipedia
Bike touring
Until fairly recently, people travelling by bike would be carrying their gear in more "traditional" touring setups – solid racks fixed to the frame and forks of the bike, and large volume panniers mounted in pairs astride the wheels. This approach is suited to carrying lots of gear and hence more suited to travelling on roads and well-formed tracks.
Touring bikes are fairly specific too—designed for the rigours of carrying heavy loads and replete with attachment points for the rack systems they use. Their frame geometry also tends towards slow and predictable handling when loaded down.
The new school
Bikepacking by contrast is pretty much bike agnostic. You probably already own a bike that can serve as a 'bikepacking bike': hardtail, gravel, road, full suspension—they all work with bikepacking bags since the bags are attached by way of adjustable strap systems.
Bikepacking bags are made of lightweight materials and avoid the weight penalty of solid racks and frames. In the early days, riders were making their own gear (many still do!), and there was much innovation and grass-roots design savvy on show. This evolution has been synthesised into the many quality brands of bags you can buy today. It is the commercial availability of these "soft" bags that have really helped bikepacking to become so popular and accessible.
In essence, bikepacking makes travelling by bike in wild and adventurous terrain more fun, or indeed, simply 'possible', since the load is necessarily trimmed down allowing the loaded bike to remain nimble and fun.
The transition from touring to bikepacking requires a bit of thinking—you'll be carrying less since the overall capacity is smaller. And you'll need to give more thought to what goes where in order to make it all fit.
This can seem a bit overwhelming to start with, as you figure out your "system". But the rewards are worth it. Riding your lightweight autonomous rig through a rugged landscape with barely any limits on where you can go is an invigorating and rewarding experience. It's also quite addictive!
The Bikepacking Bag System

In order to distribute weight evenly throughout the bike, a bikepacking bag system consists of several separate bags: a frame pack, a handlebar pack or harness system, a seat pack, and some additional smaller accessory packs that are distributed around the bike.
These latter packs are optional depending on your trip. If you are starting out, begin with a seatpack, handlebar pack, and frame pack—these are the bikepacking bags that will be with you on most trips and do the lion's share of load carrying.
Seat Packs

The bikepacking seat pack provides the archetypal silhouette of a bikepacking bike. This conical-shaped 'rocket launcher' might look a bit odd to the uninitiated, but if you're going to get one bag to start your bikepacking journey, we suggest making it a seat pack—it's a worthwhile investment.
Seat packs are relatively aerodynamic, sitting behind the rider, and also nicely out of the way for those times when you need to push or heft your bike—they won't snag and catch your legs like panniers. Typically, they will hold anywhere between 5 and 17 litres of kit and have a roll-top closure similar to a kayak dry bag.
Keep it dry
Most seat packs are waterproof, but not all. Check the construction—if it's stitched, then water will eventually get in regardless of the fabric used (add a lightweight drybag inside). A welded construction, on the other hand, will be totally waterproof. Seat packs can be an all-in-one construction (lighter), or a bag and holster system (easier to pack, especially in bad weather!).
Wagging the tail
Larger packs can be prone to 'tail-wag', swinging side to side due to their size and weight. This can be controlled by careful packing—pack the heavy stuff nearer the seatpost and fill all the gaps to make the pack dense. The addition of an extra strap will also help steady the load.
Our picks
Large/expedition: Revelate Spinelock 16l
Compact: Apidura Racing Saddle Pack
Harness system: Brooks Scape Seat Pack
Dropper-post friendly: Apidura Backcountry Saddle Pack
Handlebar Packs

Dedicated handlebar packs are a step up from simply lashing a tent or dry bag to your handlebars (although this can still work in a pinch). It's an obvious place to stash some gear—riders have been strapping stuff to their bars since bikes were born (what a fine day that was!).
Purpose-built handlebar packs feature cunning strap and buckle systems that keep the load stable while being kind to your brake and gear cables and handlebars. Look out for spacer pads that give your cables more space and allow for a more custom fit. Some packs also allow for additional pockets to be clipped on to expand your storage capacity.
Two types
Bikepacking handlebar packs fall largely into two types - a roll bag with integral straps, or a harness and bag system. As with the seat pack, the harness system is easier to pack, and also gives you the option of swapping out the bag (for example if you want to size down, or replace a damaged bag), or attaching other gear, such as a tent or packraft. The all-in-one roll bag version is usually of lighter weight.
What kind of handlebars?
When choosing a bag, it pays to consider the style of bike that it will mostly be used with. Drop bars suit narrower but deeper bags (with less available space between the drops, a wide bag could interfere with the operation of your brake levers).
With flat bars you can pack a wider, slimmer bag, thus leaving more room for your front tyre if you are running a suspension fork. If you are planning to move the handlebar pack between different bikes, a harness system will provide the most adaptable solution.
Rando Bags
Sitting somewhere between bikepacking and touring styles, a randonneur bag (or 'rando' bag), is worth mentioning here. More of a traditional 'bar box' this large bag usually makes use of a lightweight rack to add support, while falling short of the full 'touring' style setup. They work well on drop bar bikes, or where you simply need to carry more (expeditions) or bulky but delicate equipment such as camera gear, that wouldn't fare well in a soft roll bag. Take a look at this Restrap Rando Bag for an example.
Our picks
Roll bag: Apidura Backcountry Handlebar Pack
Harness system: Revelate Sweetroll
Harness only: Salsa Anything Cradle
Drop-bar handlebar pack: Restrap Bar Bag Large
Frame Packs

A custom full suspension frame bag made by Southern Lite Packs, New Zealand
Frame bags for all
The traditional 'diamond' bicycle frame provides an obvious space to store a large amount of gear within the front triangle – the space formed by the top-tube, head-tube and seat-tube. There are many off-the-shelf bags available, which will better fit 'regular' non-suspension frames, but they exist for suspension frames too.
Since the idea is to maximise the available space in the frame, some manufacturers offer sizing guides for popular bike models. If you can't find a good fit from existing bag options, you might choose to have a custom bag made for your bike. These often cost little more than their off-the-shelf counterparts and will make the most of the space.
Since the front triangle is normally where water bottles are mounted, you'll likely want to find a new location for these, while keeping them handy. Common positions are on the fork legs, the top-tube, or under the down-tube of your frame.
You could alternatively choose a 'half frame pack' and keep the bottles mounted in the frame. These are a good fit for gravel bikes, where a half-bag can still be quite voluminous but you can retain your standard 'on-the-frame' bottle positions.
Zip or roll top?
Most bags make use of zipper closures. These are convenient and quick to access on the go but do need a take a bit of care to maintain them. It's not great to have a zip blow-out mid-trip! Keep them clean and don't over-stuff the pack and you should be fine. There are a few bags that get around this issue by using a roll-top closure - a great option for remote trips where a dead zip would be more serious.
Get organized
The simplest and lightest bags have just one compartment and one opening, whereas most frame packs will sport some kind of internal separator and pockets to keep your gear more organised. There will often be a smaller compartment on one side, with a separate zipper - perfect for a pump and toolkit or wallet.
Our picks
Full-frame MTB: Revelate Ranger
Full-frame Road/Gravel: Apidura Expedition Full Frame Pack
Half-bag: Restrap Frame Bag Large
Roll-top: Ortlieb Roll-Top Frame Pack
Accessory Packs and Extra Storage

Your main bags will likely be stuffed pretty tight (they carry better that way), so they are not always easy to access on the go. Thankfully there are lots of great options for carrying smaller items that you might want access to during your ride, such as tools, snacks, navigation, sunnies, phone, sunblock, etc.
Cockpit
Top-tube packs are small bags that sit on your top-tube just behind the handlebar stem, or sometimes in front of the seat-tube. They are great for phones, electronics, batteries and tools. Stem bags or 'feed-bags' are canister-shaped packs that resemble a climber's chalk bag, and sit on either side (or both sides) of the stem, usually with a drawcord closure. These are not waterproof but provide indispensable stash space for snacks, electronics, trash, and that bikepackers staple snack - snakes.
On the fork legs
The fork legs make another handy spot for some extra gear storage. Many bikepacking-oriented forks come with triple mounting bosses for attaching Fork Cages - like oversized bottle cages - that can be used to transport bigger items such as small tents or sleeping mats, or larger volume water or fuel bottles. You can buy small dry packs made specifically to suit this location, or simply lash your gear on with some straps.
Our picks
Top Tube Pack: Apidura Backcountry Top Tube Pack
Long Top Tube Pack: Restrap Race Long Top Tube Pack
Fork Cage: Salsa Anything Cage HD
Stem Pack: Revelate Mountain Feedbag
Fork Pack: Restrap Fork Pack
Gear straps: Voile Straps
What's next?
By now you should have a good idea of the various different bags available, and where they go on your bike. By all means mix and match between brands, find the packs that work best for your use, and importantly, are the best fit for your particular bike. You might even choose to have a go at making your own bags - there are lots of resources online to give you some pointers. There's many a bikepacker sporting a DIY storage solution somewhere about their bike.
Next you'll want to think about gear choices, and where and how to pack your bikepacking bags. Look out for our Journal article about how to pack your bike for a bikepacking trip.
Need some more help choosing bags? Get in touch with your questions - we're always happy to help with advice!
Leave a comment
Comments will be approved before showing up.